Ultra-high pixels for finest details
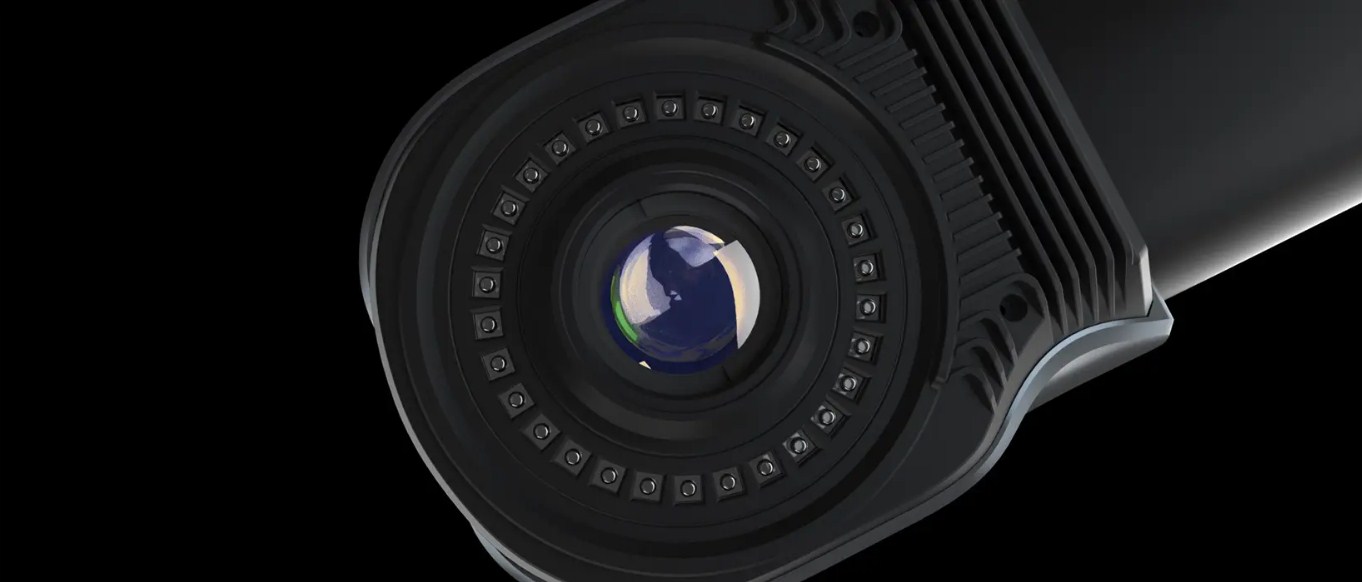
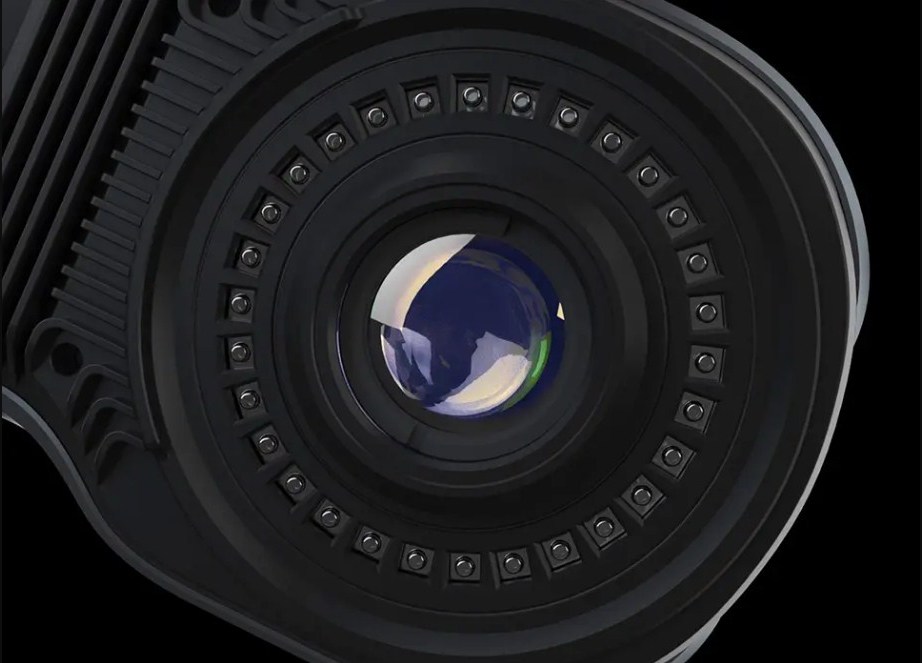
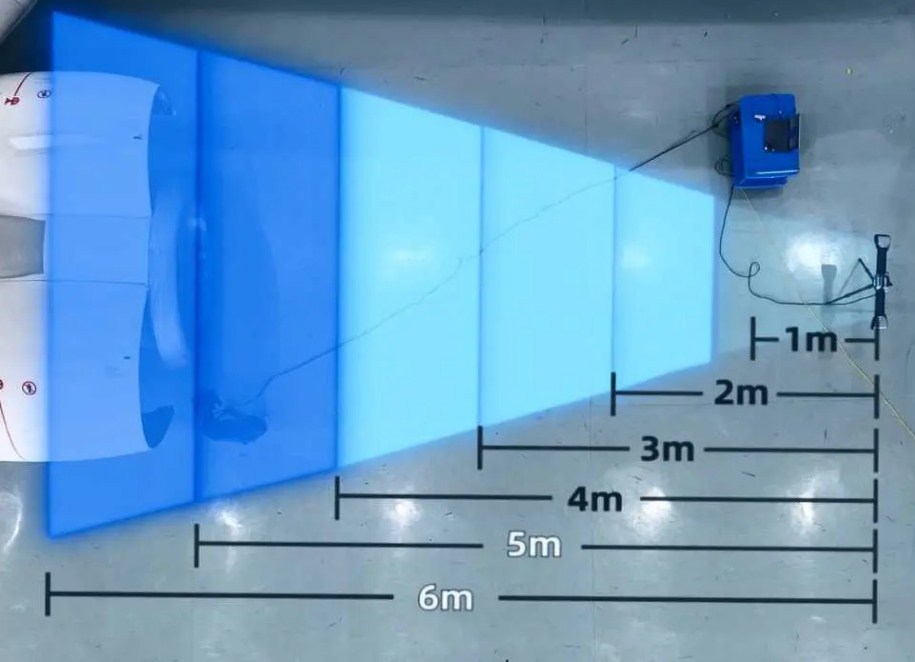
The TrackScan-Sharp tracking 3D scanning system is equipped with a brand new industrial camera. The camera
has 25 megapixels, which is 5 times the resolution of the previous generation. Thanks to the
dynamic adaptive LED algorithm, the large depth of field and the strong anti-interference capability
the system can automatically capture clear images at a range of up to 6 meters.
Measuring large components
Thanks to its large measurement volume and robust edge measurement algorithm, the TrackScan-Sharp enables scanning of large parts in one operation. The user does not need to move the tracker frequently when measuring large parts, ensuring efficient
frequently, ensuring efficient, smooth and accurate measurements.
Pre-calculation & impressive performance
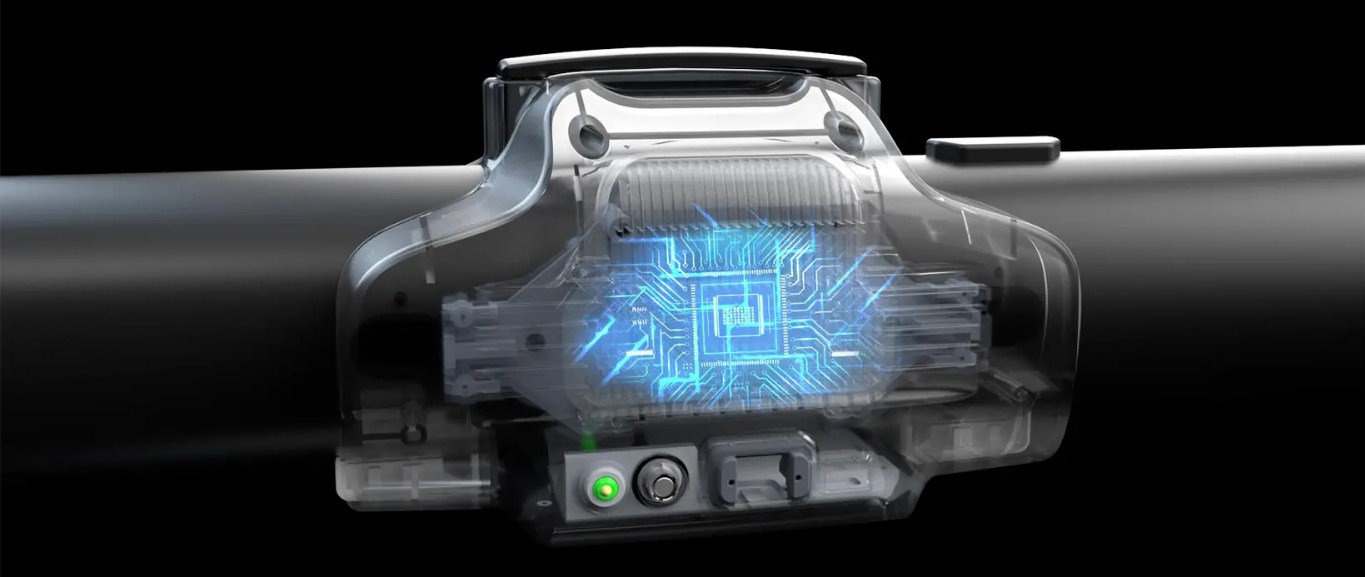
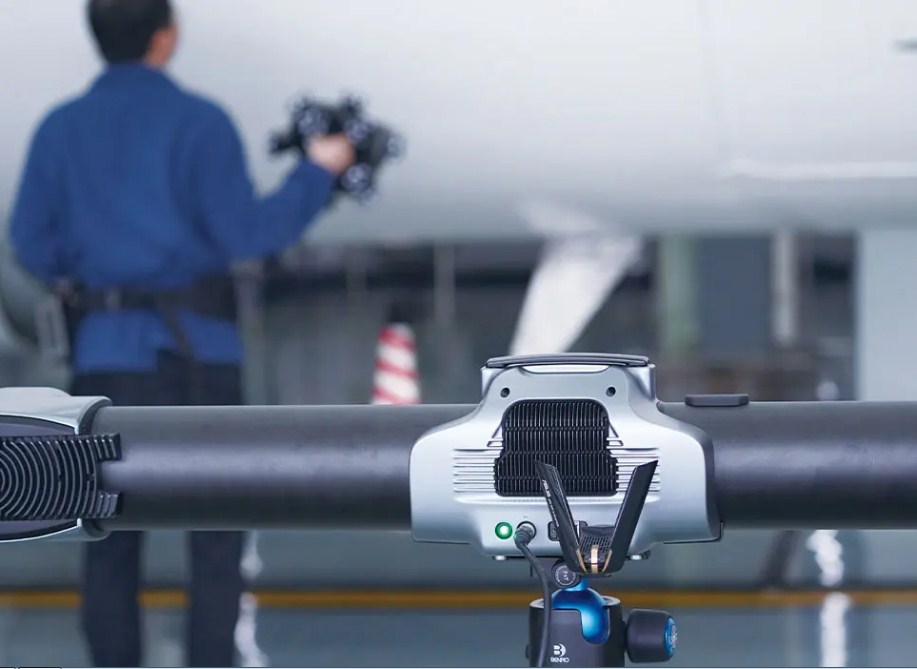
The newly designed i-Tracker has an integrated processor for efficient image processing and data calculation that can provide coordinates in real time. This innovative pre-calculation saves the computer's processing power, allowing it to better process the scanned data.
The optimized data is more reliable and stable, so that results are available within a very short time.
Remarkable accuracy
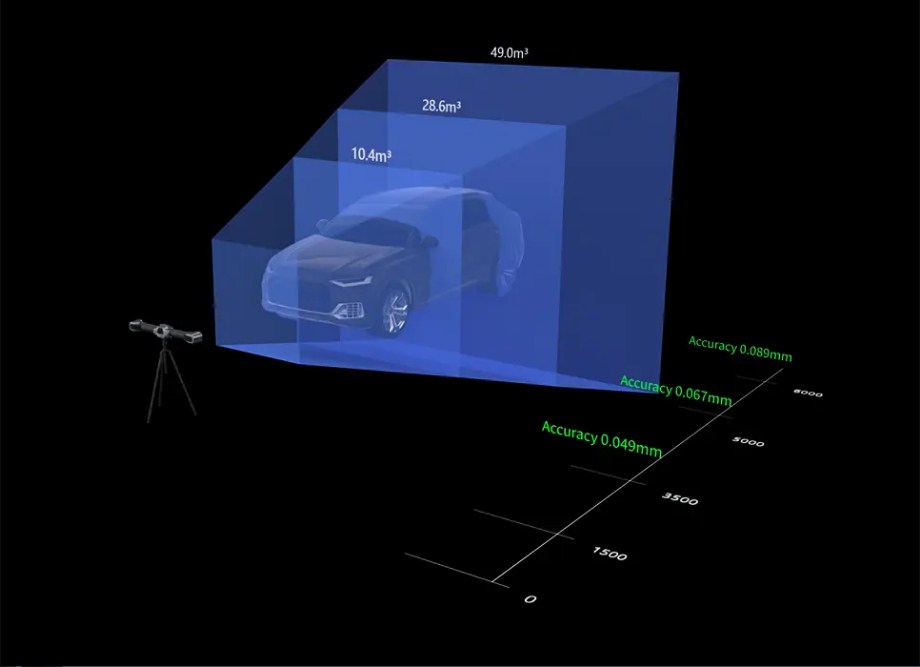
With powerful hardware and software, the TrackScan-Sharp delivers metrologically high-quality and high-precision measurement results. This optical 3D tracking system ensures that the measurement results meet the high metrological requirements. Thanks to the large tracking volume, which has been increased by about 200%, users can measure large parts without compromising precision.
| Measurement Volume | Volumetric Accuracy |
| 10.4m3 | 0.049m3 |
| 28.6m3 | 0.067m3 |
| 49.0m3 | 0.089m3 |
Fast 3D scanning & new data transmission
Thanks to its optical tracking technology, the TrackScanSharp can accurately measure parts without the need to stick markers. Its large tracking volume allows users to measure multiple parts simultaneously, greatly improving operational efficiency.
The 3D scanning system can transmit data both wired and wirelessly. In wired mode, the system can send data over long distances that meet industrial measurement standards. The optional wireless mode supports applications in various working conditions, which is very convenient due to plug-and-play operation. The system can be quickly set up and flexibly operated to meet different environmental conditions and ensure efficient measurements.
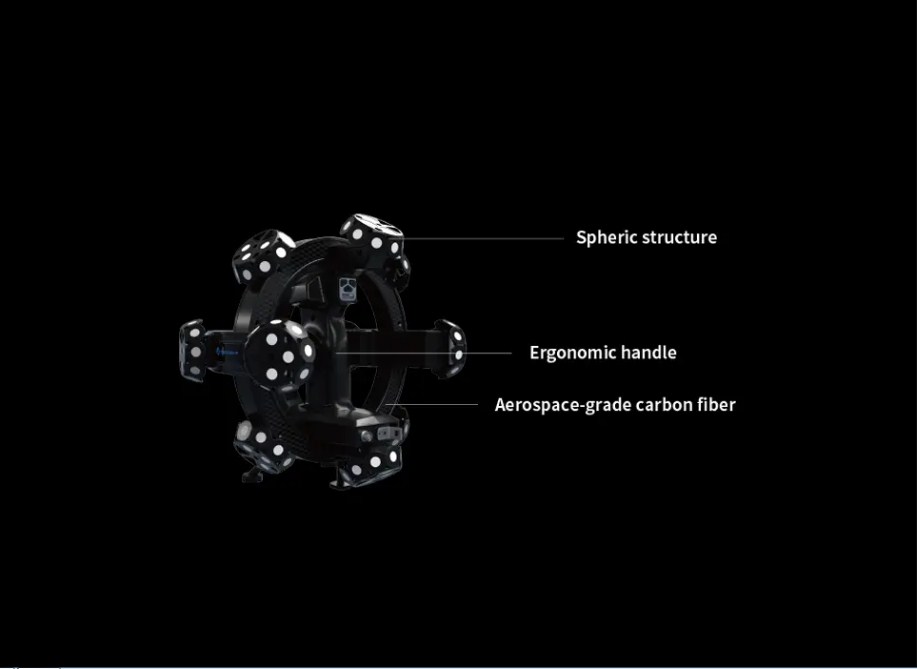
Innovative design
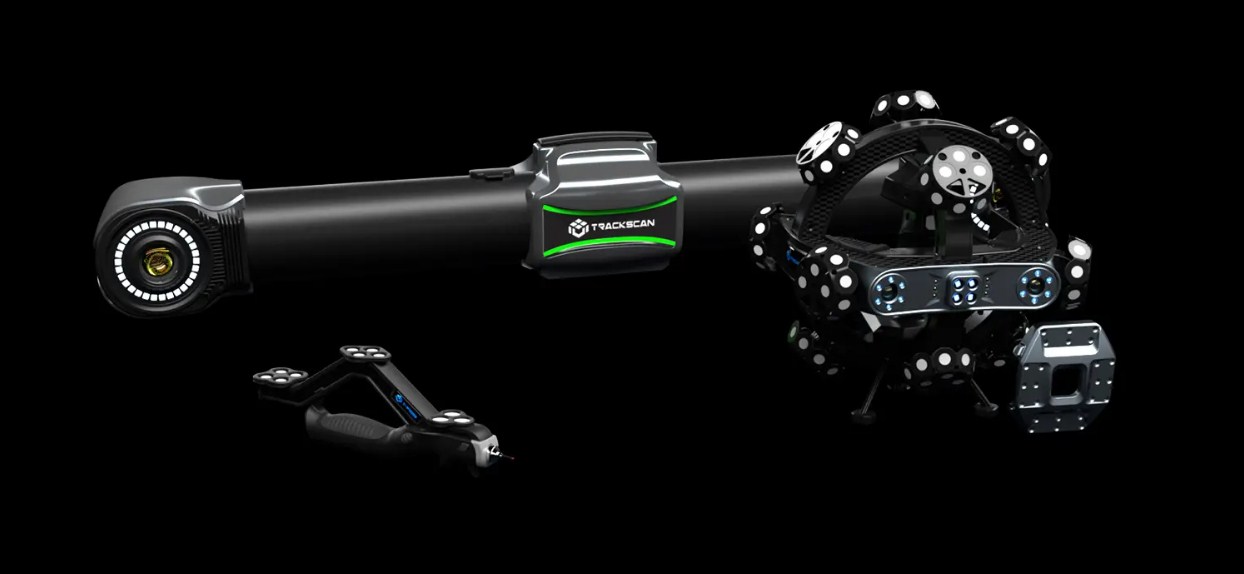
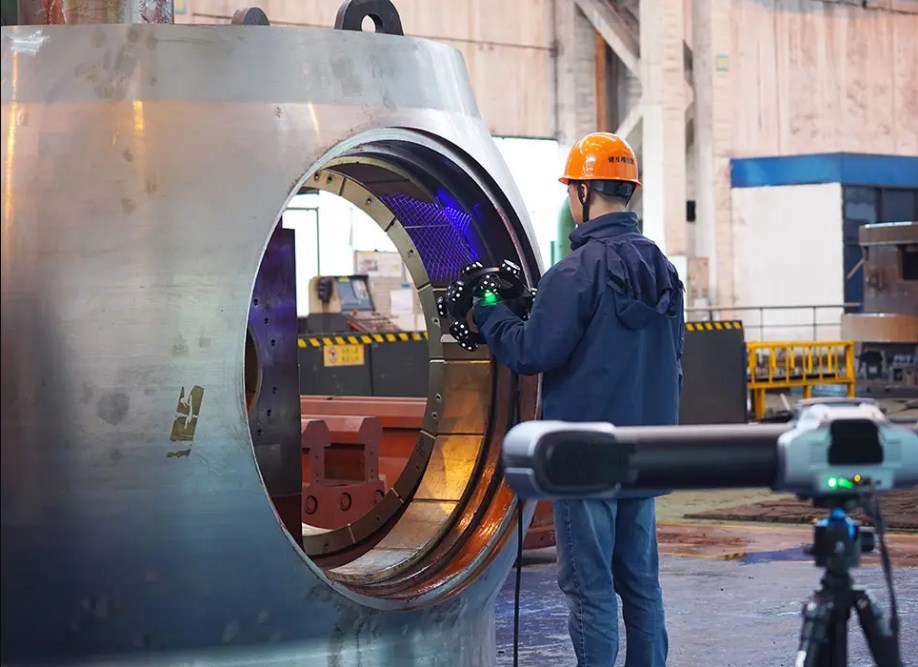
The aerospace-grade, carbon fiber, spherical i-Scanner is designed for heavy-duty use. Its ergonomic handle allows fatigue-free use of the 3D scanner over long periods of time.
over time.
The i-Tracker features an intuitive light strip that displays real-time operating status. The hollow grid design ensures that the temperature of the cameras remains
remains stable throughout the scanning process
Technical specification
| Type | TrackScan-Sharp 49 | ||
| Scan mode | Ultra fast scanning | 21 blue laser crosses | |
| Hyperfine scan | 7 blue parallel laser lines | ||
| Scan deep hole | 1 blue laser line | ||
| Accuracy(1) | up to 0.025 mm | ||
| Measurement rate | up to 2.600,000 measurements/s | ||
| Scan area | 500 mm x 600 mm | ||
| Laser class | Class II(safe for eyes) | ||
| Resolution | 0.020 mm | ||
| Volumetric accuracy | 10.4m3(Tracking distance 3.5 m) | 0.049 mm | |
| 28.6m3(Tracking distance 5.0 m) | 0.067 mm | ||
| 49.0m3(Tracking distance 6.0 m) | 0.089 mm | ||
| Volumetric accuracy(with MSCAN photogrammetry) | 0.044 mm + 0.012 mm/m(>6m) | ||
| Hole position accuracy accuracy | 0.050 mm | ||
| Camera pixel E-Track | 25 megapixels | ||
| Working distance | 300 mm | ||
| Depth of field | 400 mm | ||
| Operating temperature | 0-45 °C | ||
| Humidity (non-condensing) | 10-90% RH | ||
| Interfaces | USB 3.0, Network Interface | ||
| Certificates | CE,RoHs, WEEE | ||
| Patents | CN106500327B,CN106500628B,CN206132003U,CN204854633U, CN204944431U,CN204902788U,CN204963812U,CN204902785U, CN106403845B,US10309770B2,CN204854633U,CN105068384B CN105049664B,CN106403845B,CN111694665A,CN214375417U CN214379242U,CN214379241U,CN214149174U,CN109000582B, |
||
| (1) ISO 17025 accredited: Based on the standard VDI/VDE 2634 sheet 3 and the specification JJF 1951, the performance of the probing error (size) (PS) is evaluated. (2) ISO 17025 accredited: Based on the standard VDI/VDE 2634 sheet 3 and the specification JJF 1951, the performance of the distance error (SD) is evaluated. |
|||
